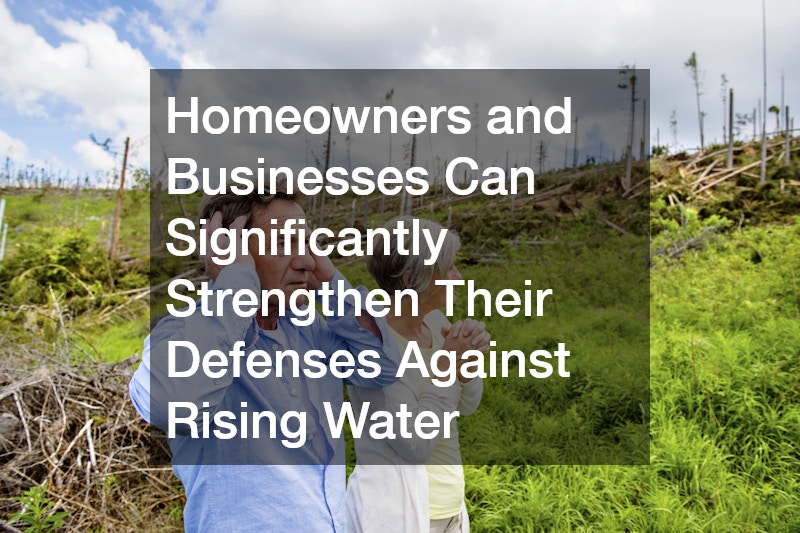
Coastal homeowners and businesses know that hurricane season brings not only high winds but also the threat of flooding. Rising water levels, storm surge, and heavy rainfall can lead to significant property damage in minutes. That is why many property owners turn to hurricane flood barriers as a practical and effective line of defense. Understanding how to choose, install, and maintain these systems is essential for maximizing their protection.
This step-by-step guide walks you through everything you need to know to safeguard your property before the next storm arrives.
Step 1: Assess Your Property’s Flood Risk
Before selecting any type of barrier, it is important to evaluate the specific risks your property faces. Consider whether you are located in a designated flood zone, how close you are to bodies of water, and whether your area is historically prone to storm surge or flash flooding. Inspect your home or building for low-lying entry points, such as garage doors, basement windows, and ground-level entrances that are more susceptible to water intrusion. Conducting a careful risk assessment gives you a clearer understanding of what type of barriers you need and where they should be placed.
Step 2: Learn About the Different Types of Barriers
Hurricane flood barriers come in several forms, each designed to meet different needs. Water-filled barriers are lightweight before deployment and expand as they fill with water, making them easy to store yet effective during storms. Aluminum or steel panel systems offer durable, reusable protection and are often custom-fitted to specific entry points. Inflatable barriers provide quick installation and a temporary seal ideal for urgent situations. Traditional sandbags, though labor-intensive, remain a familiar option in some areas. Understanding how these systems differ in durability, cost, storage requirements, and ease of use helps you make an informed decision that matches your home’s needs.
Step 3: Take Accurate Measurements
Accurate measurements play a critical role in ensuring successful barrier installation. Measure the width and height of all vulnerable entry points, such as doors, garage openings, and window wells. Be sure to account for slopes or uneven surfaces, as these conditions may require special adjustments or additional sealing mechanisms. If you plan to order custom panels or modular components, double-check your measurements to avoid errors and ensure a proper fit.
Step 4: Prepare the Installation Area
Before installing your hurricane flood barriers, you must prepare the surrounding surfaces. Clear away debris, dirt, and loose materials to help create a tighter seal once the barrier is in place. If you are using panel systems, this may involve mounting brackets or guide rails ahead of time. For inflatable or water-filled options, identify a flat and stable surface that can hold the barrier securely during storm conditions. Effective preparation not only improves performance but also reduces overall installation time.
Step 5: Install the Barriers According to Manufacturer Instructions
Once the area is ready, follow the manufacturer’s instructions carefully. Each barrier type has its own installation process. Aluminum panels often slide into pre-installed tracks, forming a tight seal around entry points. Water-filled barriers must be positioned correctly before being filled, ensuring they remain balanced and steady. Inflatable barriers may require a pump to achieve the necessary pressure for peak performance. If you feel unsure about handling the installation yourself, consider consulting a professional for added confidence and safety.
Step 6: Inspect the Barriers for Proper Sealing
After installation, examine every barrier to ensure there are no gaps, loose edges, or uneven contact points. Even small openings can allow significant water intrusion, so it is important to confirm that each barrier forms a proper seal. Some systems come with integrated sealing strips, while others may require additional waterproofing material. Performing a careful inspection before the storm arrives ensures the barriers are functioning as intended.
Step 7: Monitor Conditions During the Storm
Once a storm begins, it is important to monitor conditions when it is safe to do so. Watching for pooling water or shifting barriers helps you identify potential issues early. If adjustments are necessary, make them only when conditions permit and safety can be maintained. Continual monitoring helps ensure your property remains protected throughout the storm’s duration.
Step 8: Remove and Clean the Barriers After the Storm
When the weather clears, remove the barriers carefully. Reusable systems should be cleaned thoroughly to remove dirt, salt, and storm debris, and allowed to dry completely before storage. Proper cleaning prevents premature wear and ensures the barriers remain effective for future hurricane seasons. If using sandbags, check local guidelines for proper disposal, especially if they have absorbed contaminated floodwater.
Step 9: Store the Barriers for Future Use
Finally, store your hurricane flood barriers in a dry, organized location that is easy to access when needed. Keeping components labeled or grouped makes the installation process faster and more efficient during the next deployment. Proper storage ensures that your barriers remain in good condition and ready for the next hurricane season.
Hurricane protection requires thoughtful preparation, and hurricane flood barriers offer a dependable way to minimize water damage. By assessing risks, choosing the right system, and following each step carefully, homeowners and businesses can significantly strengthen their defenses against rising water. With proper installation, maintenance, and storage, these barriers provide ongoing peace of mind and essential protection year after year.